Pixelating part of an image is a common way to protect sensitive information, but many people think it requires professional editing tools.
In fact, you can do it for free in just a few seconds. Below are 4 safe and fast methods for how to pixelate part of an image using simple tools available online, on mobile, and on desktop.
Quick Answer: Jump straight to the step-by-step guide →
Reading Guide
- What Is Image Pixelation and How Does It Work?
- Why is Image Pixelation So Important?
- Method 1: How to Pixelate Part of an Image in Canva (Quick but Limited)
- Method 2: How to Pixelate Part of an Image in Photoshop (Professional but Complex)
- Method 3: How to Pixelate Part of an Image on iPhone and Android (Fast but Basic)
- Method 4: How to Pixelate Images Automatically with AI (Fastest & Most Precise)
- FAQ About Flexible Image Censorship
- Final Words
What Is Image Pixelation and How Does It Work?
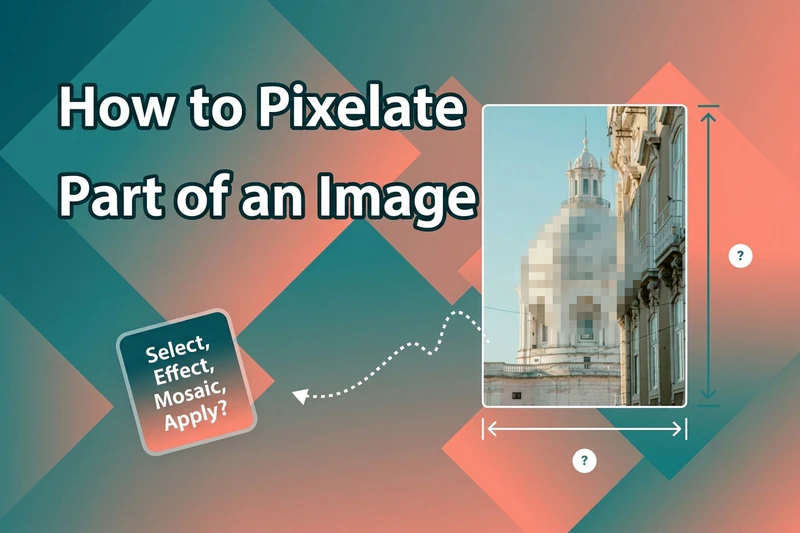
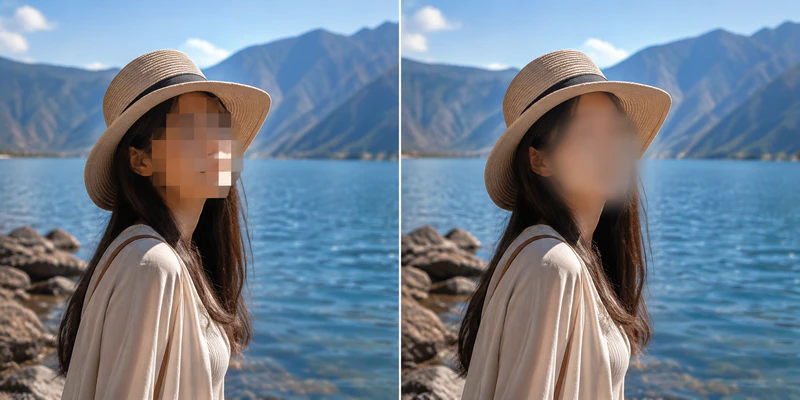
Image Pixelation is one of the popular ways to censor image and hide information in images. It's like taking 100 individual colored pixels, blending them into a single average color. Thus, a face, license plate, or piece of text becomes unreadable while the rest of the photo stays clear.
It works because our eyes rely on fine detail to recognize faces, text, or objects. Once the underlying information is lost, even though the image is still technically "visible."
Image Pixelation vs. Image Blurring: What's the Difference?
Blurring part of an image works differently. Each pixel picks up color from its nearby neighbors. The colors blend softly together. There is just a smooth transition. Compared to image pixelation, blurring can also obscure sensitive information in photo well, but it's softer and more natural.
Why is Image Pixelation So Important?
When you share screenshots or family photos, have you ever thought about the risk of exposing private information? In this day and age, doxxing someone might be illegal, but it's frighteningly easy to do. Even a small detail can be noticed by people with bad intentions, which may lead to problems like spam calls or misuse of your images. That's why it's often necessary to pixelate or blur specific parts of an image.
First, personal safety. When you hide faces, license plates, or addresses, others cannot easily access your private information. Second, social media safety. Posting unedited images of others without permission can sometimes lead to legal issues. Third, better image composition. A messy background can be improved by blurring it, making the main subject stand out more clearly. Even if you cannot remove something from the image, blur can help you blend it in more naturally.
| Reason | What It Solves | Key Benefit | Example Use Case |
|---|---|---|---|
| Personal Safety | Hides faces, license plates, and addresses | Protects private information from misuse | Posting travel photos or street images |
| Social Media Protection | Prevents sharing unapproved or sensitive images | Avoids legal and privacy issues | Sharing group photos online |
| Visual Improvement | Blurs messy or distracting backgrounds | Makes subject stand out more clearly | Portraits, product images, social posts |
Method 1: How to Pixelate Part of an Image in Canva (Quick but Limited)
Canva is a good pick if you're already designing inside it. It's a fast, no-download way to censor part of a photo. It relies on a duplicate-and-crop trick rather than a true masking tool, so it's quick to learn but a bit fiddly to line up.
Step 1: Paste Image
After uploading the original image to Canva, click on the image and select "Copy". Drag the copy onto the top of the original image, ensuring it fits perfectly.
Step 2: Pixelify the Copy
Select the copy image, search for and launch Pixelify on the left. Canva will censor the entire copy image. Next, you can drag the slider to adjust the Pixelify program, and finally click "Replace".
Step 3: Precise Cropping
Crop out the unnecessary parts and keep only the area you want to cover, such as just the blurred face or license plate. Then place the blurred layer on top of the original image.
Step 4: Export Image for Free
Once you're satisfied with the result, click the "Share" button in the top right corner, then click "Download" to save the image to your device.
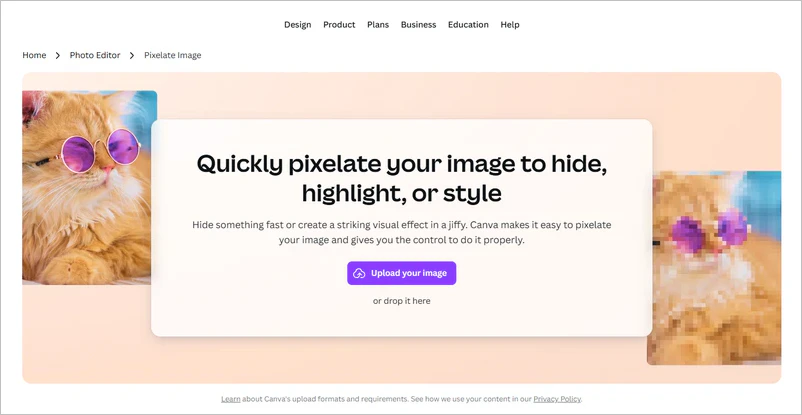
⚠️ Note: Maybe, if you're okay with using stickers to cover the areas you want to pixelate, Canva could be a great option. However, if you need highly precise pixelation, it's recommended to use AVCLabs PhotoPro AI or PhotoShop.
Why it's great:
- Free and works entirely in the browser
- Fast for simple edits like blurring a face in a social graphic
- No steep learning curve compared to Photoshop
Limitations:
- No true selection/masking tool
- Alignment must be done by hand, so precision is limited
- Awkward for irregular shapes or moving subjects
- Not ideal for batch editing or video frames
Method 2: How to Pixelate Part of an Image in Photoshop (Professional but Complex)
Photoshop gives you granular control over partial image pixelation, letting you pixelate part of an image with high control. It takes a few more steps than a one-click online tool, but the payoff is precision. Thus, it's ideal for designers and editors who need pixel-perfect masking.
Step 1: Duplicate the Layer and Convert to a Smart Object
Start with your image open and the Background layer selected. Duplicate it with Cmd/Ctrl + J, you can then rename this new layer something like "mosaic".
Right-click the layer and choose Convert to Smart Object. It can protect the original pixels underneath, so any filter you apply later stays fully editable instead of being permanently baked into the image.
Step 2: Apply the Mosaic Filter
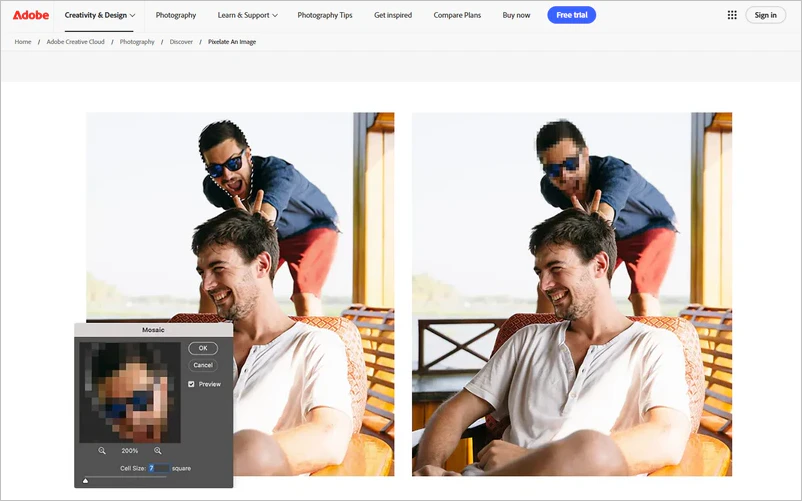
With the smart object layer selected, go to Filter > Pixelate > Mosaic. Dial in a cell size and click OK. Because the layer is a smart object, the effect shows up as an editable "Smart Filter" in the Layers panel. You can toggle it on and off, or double-click "Mosaic" anytime to reopen the dialog and adjust the cell size, even after saving and reopening the file.
Step 3: Mask the Effect to Just the Target Area
Select the Ellipse Tool, set the mode to Path, and choose Combined Shapes in the options bar. Draw a rough oval over the area you want pixelated. With the pixelated layer selected, go to Layer > Vector Mask > Current Path. This turns your drawn shape into a mask, hiding the pixelation everywhere except that region.
Step 4: Fine-tune for Clean Edges
Click the mask thumbnail (not the layer thumbnail) and use Free Transform (Cmd/Ctrl + T) to reposition or resize the masked area. Then open the Properties panel and adjust the Feather slider to soften the hard edge around the pixelated zone; somewhere around 100-200px usually blends it in naturally. If detail starts creeping back in at the edges, either stretch the mask slightly larger or reduce the feather amount until it looks clean.
Why it's great:
- Preserves full image quality outside the masked region
- Keeps edits fully non-destructive via Smart Object filters
- Offers additional tools, like Select Subject, Lasso, Eraser
Limitations:
- Takes several manual steps
- Requires a paid Photoshop subscription
- Slower than online tools for quick, one-off edits
- Overkill for simple tasks like blurring a face or license plate
Note: The same smart object + vector mask workflow also works for blurring instead of pixelating — just swap in Filter > Blur > Gaussian Blur (or another blur filter) at Step 2 instead of Mosaic. Everything else, including the masking and feathering, stays the same.
🔥 You may also like: How to Blur Face and License Plates Automatically in Videos?
Method 3: How to Pixelate Part of an Image on iPhone and Android (Fast but Basic)
On mobile devices, pixelating an image is not as precise as on a PC, but it is convenient for real. Both iOS and Android users can do it using built-in apps. In addition, some third-party apps offer more advanced features that make up for the limitations of native tools.
For iPhone users:
Step 1Open the Photos app, find the image you want to pixelate, and open it.
Step 2Tap "Filter" icon at the bottom, then tap the brush icon at the top.
Step 3Choose the color you need, then use the brush to paint over the image.
Note: The built-in Cleanup tool does not work on iPhone 14 Plus and newer models.
For Android users:
Step 1Open your phone's built-in Gallery app, find the image, and open it.
Step 2Tap Edit, then look for the Markup or pen/pencil icon.
Step 3Choose a solid color, then use the brush to paint over the area you want to hide.
Best Third-Party Apps for Pixelating Part of an Image
| App | Platform | Price | Why It's Useful |
|---|---|---|---|
| Pixelmator Pro | iOS | Paid | Precise selection tools, pixelate + blur effects, non-destructive editing |
| Snapseed | iOS & Android | Free | Simple brush-based blur/selective edit tool, beginner-friendly |
| TouchRetouch | iOS & Android | Paid | Great for removing or obscuring unwanted objects, includes blur brush |
| PixelLab | Android | Free (with ads) | Layer-based editing with pixelate and blur filters, good area control |
| PicsArt | iOS & Android | Free / Paid tiers | Blur tool with adjustable brush size, easy area masking |
Tip: If you do NOT need highly precise pixelation of part of an image, you can simply use social media platforms to do it. For example, platforms like Instagram and X already allow you to pixelate or hide private information before uploading photos.
Method 4: How to Pixelate Images Automatically with AI (Fastest & Most Precise)
AVCLabs PhotoPro AI is one option built for automatic workflow. It can effortlessly recognize subjects, faces, or specific regions in your images, and then blur part of an image in click.
Beyond pixelating and blurring images, it also handles AI enhancement, watermark removal, background removal, and colorization. It includes a Smart Selection Tool that identifies subjects, faces, or specific regions with AI precision. Therefore, you no longer need to fine-tune exactly what gets covered while keeping the transition around it natural.
AVCLabs PhotoPro AI makes it well suited for quickly pixelating or blurring sensitive parts of a photo without the manual masking steps required in Photoshop. The tutorial below walks through the process.

AVCLabs PhotoPro AI
- Pixelate or blur with one click via Smart Selection.
- Auto-detect faces, plates, text, and any objects.
- Replace objects, hairstyles, or backgrounds with AI.
- Remove watermarks from images easily.
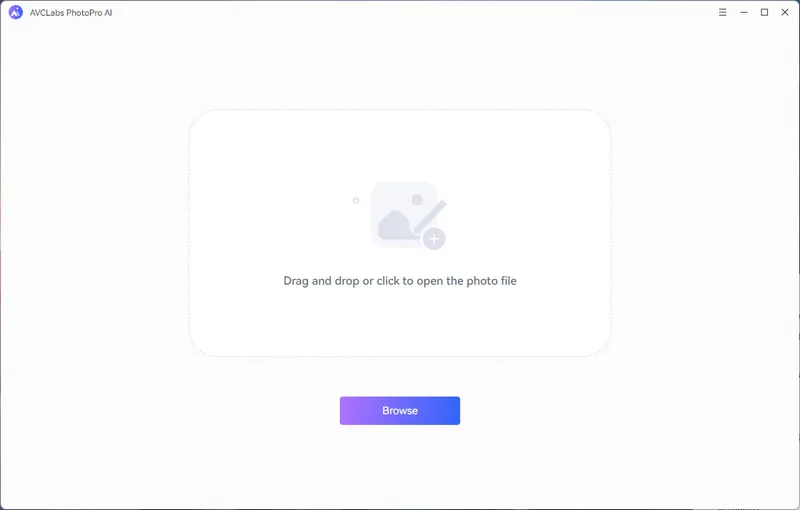
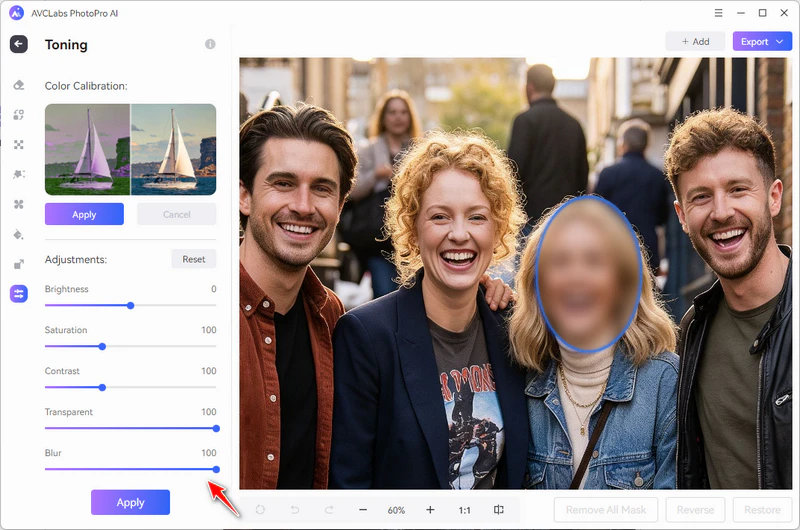
Step 1 Launch AVCLabs PhotoPro AI and import the image you want to pixelate. You can either open it from the folder or simply drag and drop it into the software.
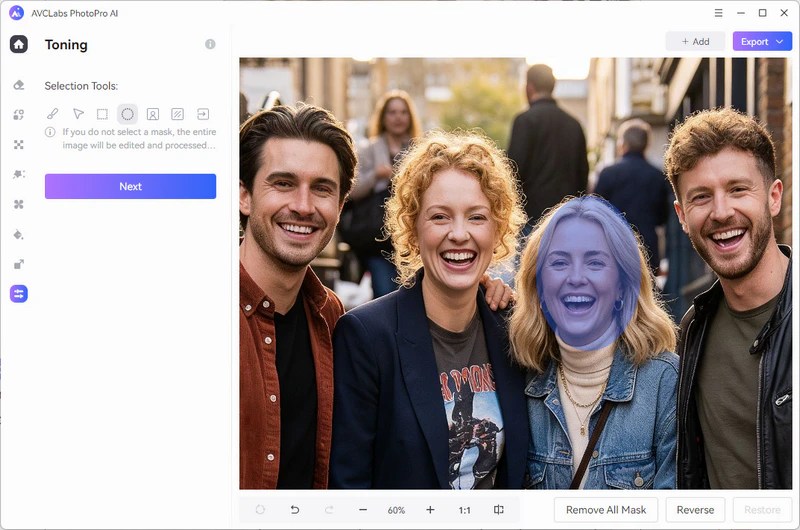
Step 2 On the left panel, find the "Toning" tool, then choose a selection tool you're comfortable with. Use it to select and cover the area you want to pixelate, then click the "Next" button.
Step 3 Next, adjust the Blur slider at the bottom until you're happy with the result, then click "Apply" to apply the effect to the image. In this step, you can also adjust brightness, contrast, saturation, and transparency for the selected area. Finally, click "Export" to save the edited image.
Why it's great:
- Lightweight app, done in 3 steps, results in 10 seconds
- Adjustable grid size for professional-level pixelation
- AI auto-detects faces for one-click censoring
- Processed locally — 100% private, no upload to a server
- Smart selection/brush tool for precise pixelation while keeping the rest sharp
Limitations:
- Paid (free trial available)
FAQ About Flexible Image Censorship
How do I hide some part of an image?
Use a photo editor to select the area and apply a pixelate, blur, or solid color overlay — tools range from Photoshop to simple mobile apps or AI-based editors like AVCLabs PhotoPro AI.
How can I blur a specific part of an image on my iPhone?
Open the photo in the Photos app, tap Filter, then the brush icon, choose a color, and paint over the area you want to hide.
What programs can pixelate images?
Photoshop, Canva, Snapseed, TouchRetouch, PixelLab, and AI tools like AVCLabs PhotoPro AI all support pixelating images.
Final Words
Blurring or pixelating part of an image is an essential skill in today's world of endless photo and video sharing. This article covered how to pixelate part of an image using Canva, Photoshop, and PhotoPro AI, along with how to do it on both iPhone and Android. Go and try it!